Embark on a seamless recording journey with LosslessRec! By simply following our comprehensive guide, you'll unlock the power to effortlessly capture every thrilling game moment, conduct flawless full-screen recordings, precisely record with custom screen sizes, and even seamlessly integrate webcam video and audio. Whether you're a gamer looking to immortalize your victories, a professional in need of precise screen captures, or someone who wants to enhance their video communication, LosslessRec has got you covered. Elevate your recording experience and get ready to create stunning visual and audio content like never before.
First: Click the following button to free download LosslessRec setup file, and > Install
How to Use "Full Screen" to Capture the Whole Desktop
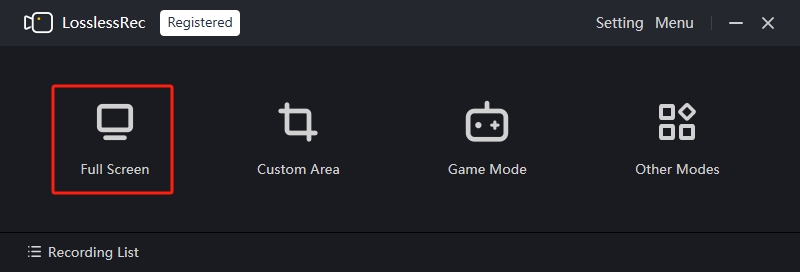
Step 1Launch and Choose "Full Screen"
After installing LosslessRec on your computer, launch this program to enter the main interface and click the "Full Screen" button to continue.
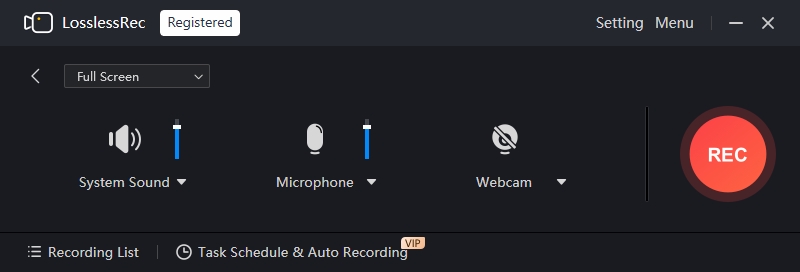
Step 2Set for the Recording (Optional)
When you tap on Full Screen, you can choose the sound source, microphone, or webcam from the main screen.
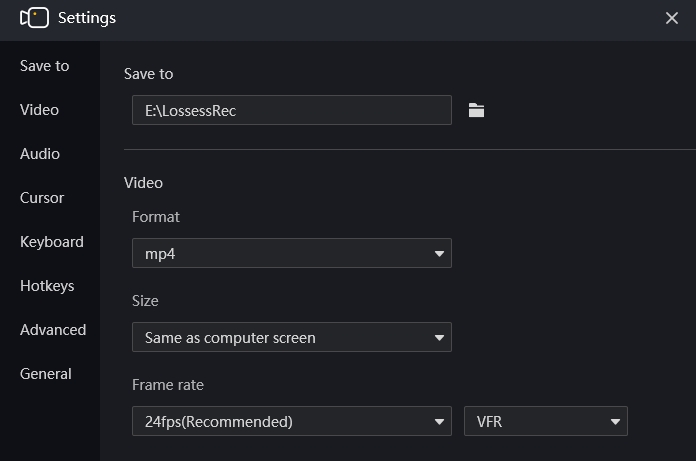
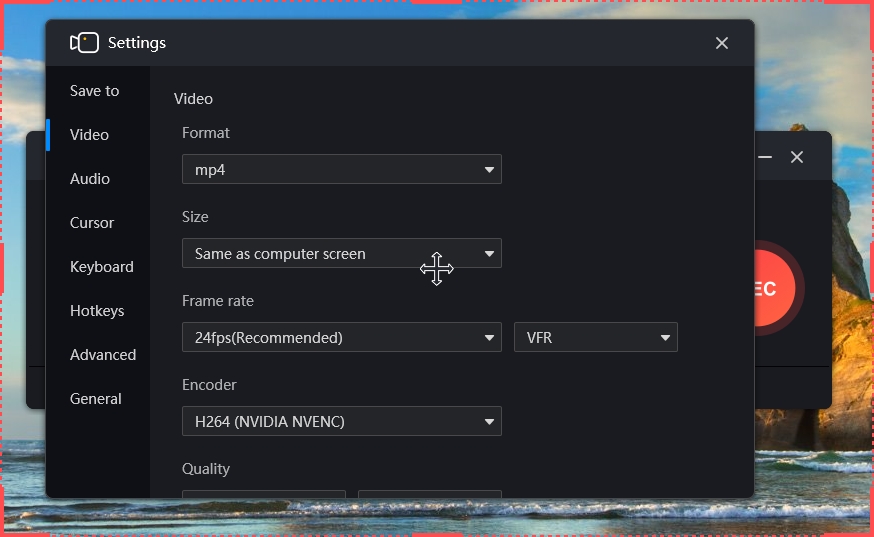
For more advanced settings like save path、video format/size, frame rate, mouse cursor effect, hotkeys and saving folder, navigate to Settings panel to do so.
Step 3Start Recording
Click REC button or press hotkey to start the recording, during which you can pause and resume, annotate, show or hide webcam at any time.
Step 4Stop Recording
Click STOP button or press hotkey to stop the recording, and the video will be saved in the default folder.
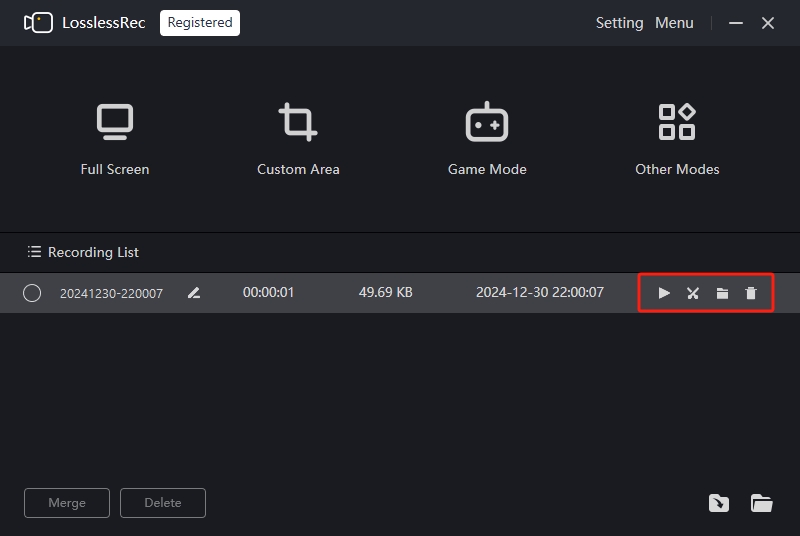
Step 5Edit & Share (Optional)
The recorded file will automatically saved and listed on Recording list. Then you can play, rename, open it in folder, access to editor for easy cutting & merging.
How to Record Videos in Game Mode with LosslessRec
The most recommended way to record game videos is to record in Game mode since it will take fewer resources with steadier and better quality.
Step 1Launch and enter the game
For example, Grant Theft Auto V, Home, Sweet Homee, Left 4 Dead 2, The Pirate: Caribbean Hunt, Dota 2, etc.
Step 2Launch LosslessRec and choose the game mode
Launch LosslessRec, choose the Game mode, and switch from LosslessRec to the game window and switch back until LosslessRec detects the game *.exe.
Once LosslessRec detected the game, and if you enabled it to show FPS, there will be green numbers on the top-left of the game window.
Step 3Click REC to start the recording
You can also use the hotkeys to start or pause the recording here. The default hotkey is Alt + 1.
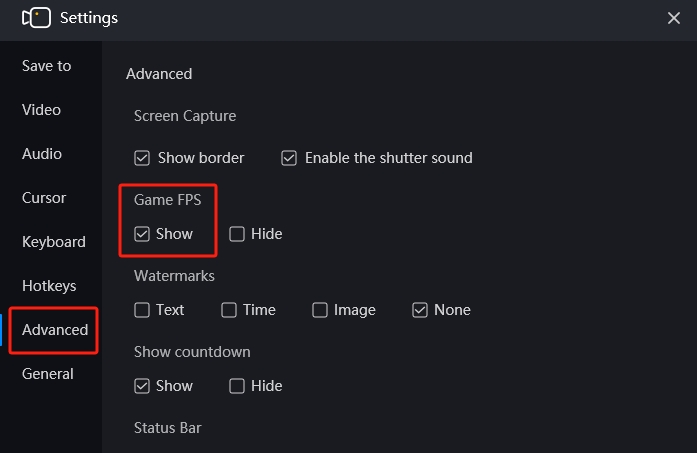
If you’ve enabled FPS in Settings, you will find the green FPS numbers turn red while recording.
If you can’t find the FPS numbers shown, please go to Settings >> Advanced, scroll down to find Game FPS and tick Show FPS. If you hope to disable it, just uncheck the box.
Step 4Stop Recording and edit video
To end the recording, you can either press the red stop button on LosslessRec or with the hotkeys. The default hotkey to stop recording is Alt + 2. And after the recording, you can play, edit and locate the file in the folder.
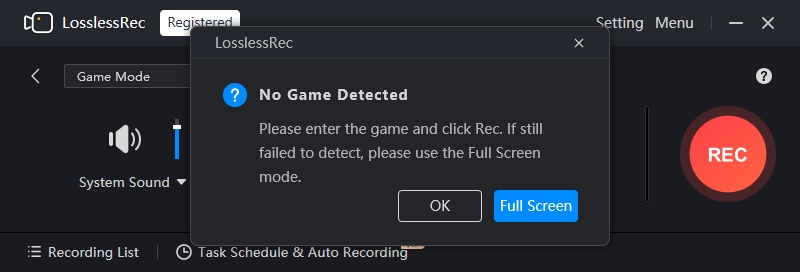
Notes:
If you can’t find your game detected in Step 2, please close LosslessRec, restart the game and launch LosslessRec to check again. If you still can’t find the game detected, it’s possible that your game is not supported to be recorded in Game mode. You can record the game with the Full-Screen mode or Custom Area mode.
Click the Full Screen button, or you can go back to the main interface of LosslessRec to enable the >Full Screen mode.
How to Record Custom Area with LosslessRec
Customer Area offers a flexible way to record videos of any size you like on your desktop. This guide will show you how to record a custom region with LosslessRec.
Custom region mode is one of LosslessRec's many basic recording modes. It allows users to capture a custom area of the desktop in any size they like. At the same time, it is very easy to operate. With just a few draws and drags, you can successfully make a custom area. LosslessRec then captures everything that happens in the dragged area. You can record in rectangles or squares as you like.
So now, let's learn more about how to record custom regions with LosslessRec.
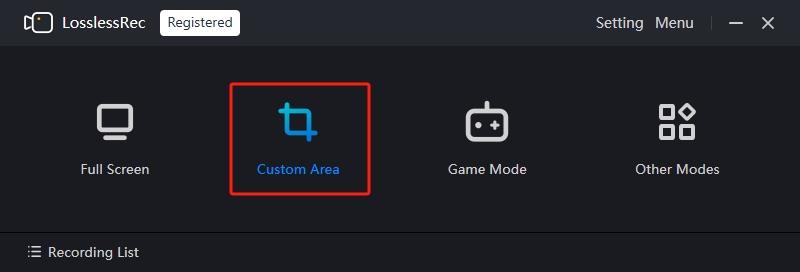
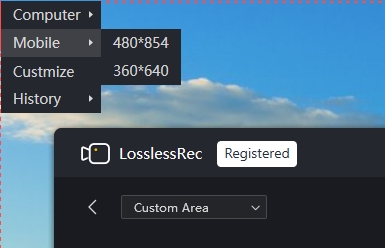
Step 1open LosslessRec and choose the "Custom Area" Mode
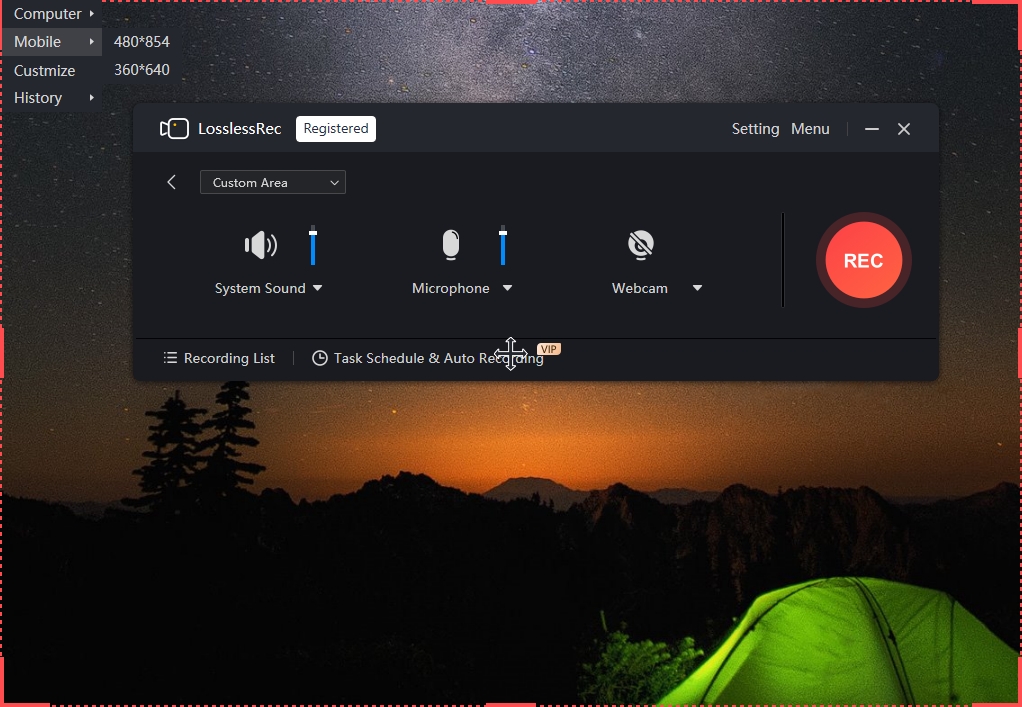
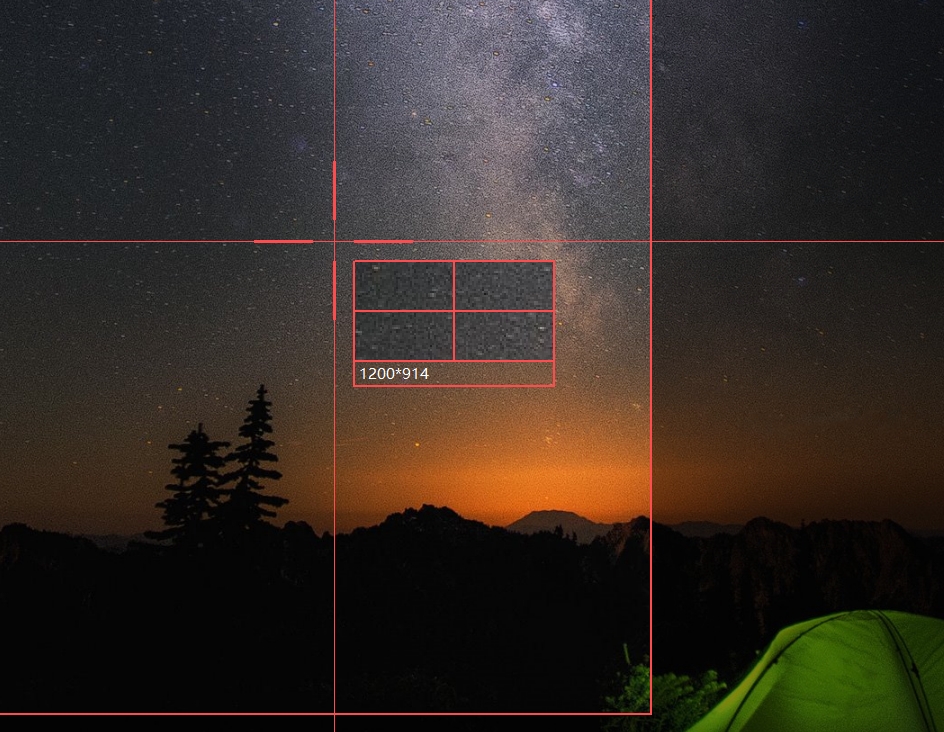
Step 2Draw and drag to make a customized area
Don’t worry if you can’t choose a precise size by dragging. After the area is chosen, you can either choose a size and resolution in the resolution list or drag the edges to get the exact size.
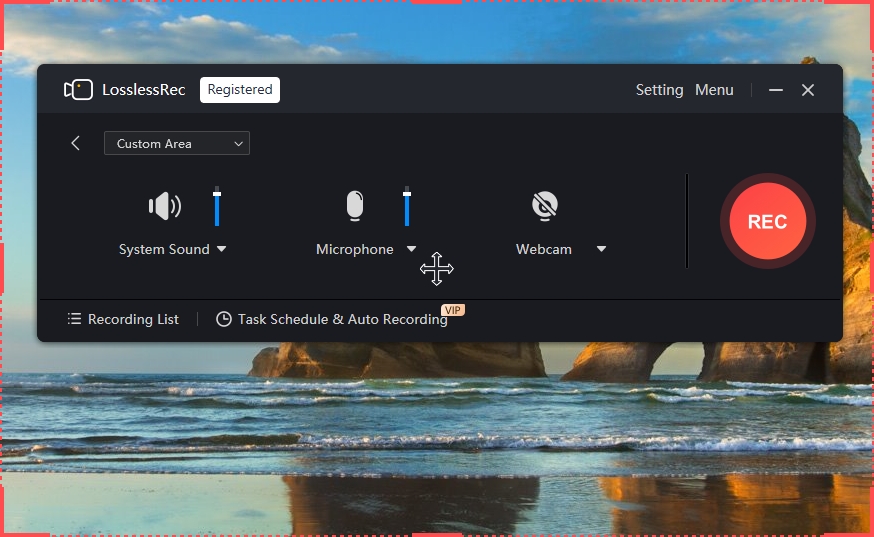
Step 3Before the recording, you can configure the settings for the custom-area recording
You can keep the default settings if you are not sure what parameters to set. And you can find some more details in the screenshots below.
You can set it to record the system sound, microphone, and webcam on the main interface. To do more settings, you can go to Settings
Step 4Click REC to start the recording
In the process of recording, users are allowed to add annotations to their videos. And LosslessRec provides users with a series of useful annotations including arrows, graphics, texts, whiteboards, etc.
Step 5Stop Recording and edit video
After the recording, hit the red square button on the status bar to end the custom-area recording.
Other than that, you can use Alt+2 hotkeys on Windows to stop the recording.
And the recorded video footage will be stored automatically in their local folder. You can also find the recordings on the Recording List. On the list, you can playback or edit the footage.
Ideal Occasions for Custom-Area Mode
Now you know how to record custom areas with LosslessRec? While on what occasions will you need to record in custom area mode?
Please check the list we gathered as follows and get back to us if you have more.
Record small-scale games like flash games or simulator games
Record streaming videos on major video portal websites like YouTube
Record live streams on Twitch and Mixer
Record online courses
Record official conferences
Record multiple monitors (monitors have to be arranged in the same line)
Record PC programs like PPT, Excel, etc
Record mobile-sized videos for TikTok, Instagram, Facebook, Snapchat, etc.
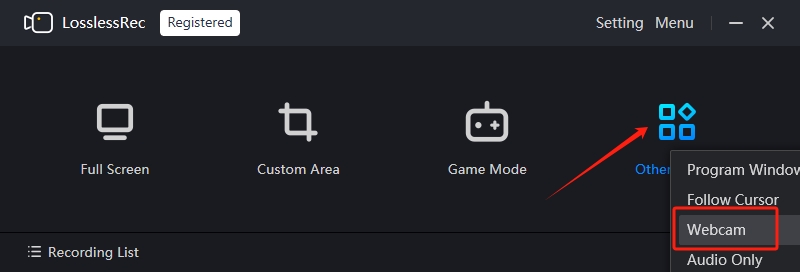
How to Record with Webcam
Step 1Choose the "Webcam" recording mode
You can choose Full Screen, Custom Area, and Follow Cursor to record the computer screen with a webcam. As long as the webcam window is included in the recording area, you can record the video with your own face.
You can also directly select the "Webcam" option in the main interface to record the video of the webcam
Step 2Do the necessary options for the screen recording with a webcam
While if you are recording the webcam with Custome Area mode and Follow-cursor mode, please make sure to keep it in the recording area.
And to set detailed parameters like video quality, video formats, etc., you can go to Settings >> Video.
But if you have trouble configuring parameters, you could leave all the options unchanged but be pretty much sure to turn on the webcam.
Step 3Click REC to start recording. During the recording, users are allowed to add annotation tools to their footage.
Step 4Click the red button in the floating bar to stop recording. And your footage will be automatically saved to the local folder on your PC. You can also check the recordings in Recording List at the main interface of LosslessRec.
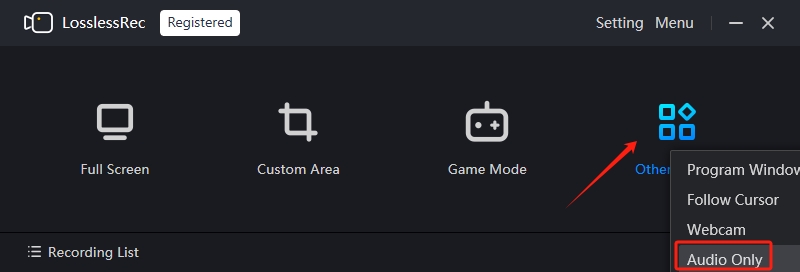
How to Record with Audio Only Mode on Computer
You can to record with audio only by using the Audio Only mode of LosslessRec. The audio-only mode allows you to record external and internal audio simultaneously or separately with high quality.
To begin with, you need to check the status of your audio devices. If you don’t have an external microphone, you can use the built-in microphone to record.
Step 1Choose the "Audio only" recording mode
Step 2Do the Settings
Select the correct system sound and microphone
Step 3Start recording
You can click the REC button or directly use Hotkeys Alt+1 (default settings) to launch an audio recording.
Step 4Stop recording
If you want to end this audio recording, you can press the Stop icon or use Alt+2 to over.
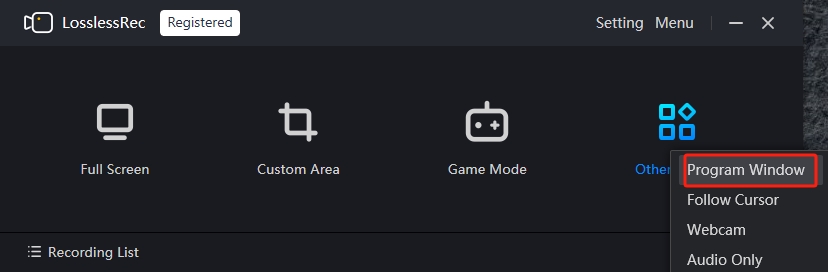
How to Record Program Window
Step 1Choose the "Program Window"
Select the program window on the main interface.
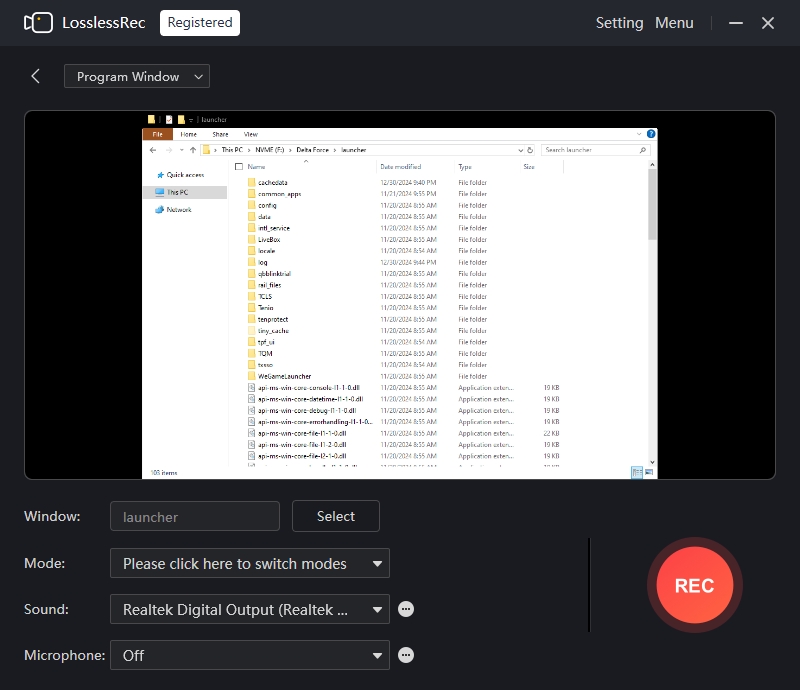
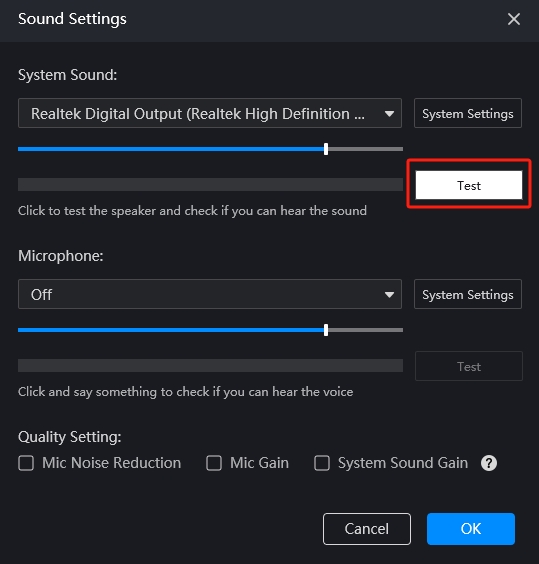
Step 2Select the window you want to record and set the audio or microphone
To test whether your sound and microphone are all right, please click on the "…" buttons and click on the relative Test buttons. If you find your background noises are too annoying, you can also tick to enable Microphone Noise Reduction here.
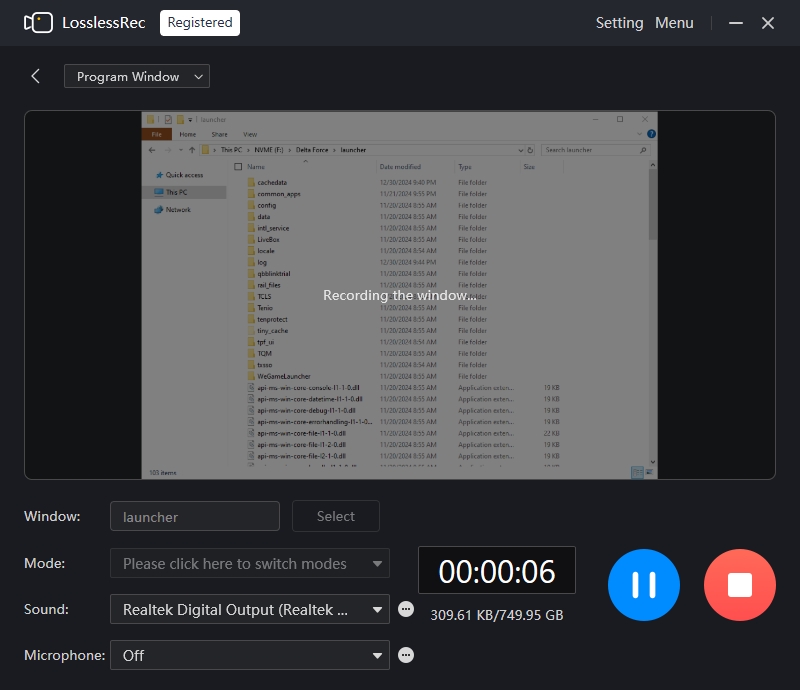
Step 3Start REC and operate on the program
After the settings, you can click on REC to start the recording and operate on the program. And you can use other programs as well. It will not disturb the main recording window. And to end the recording, you can either use the hotkeys or press the Stop button.
Notes:
Please note that, if you’ve enabled the click sound in Settings, you may record the click sounds while operating on other programs.
While recording, please don’t change the size of the window (resize, minimize, maximize, etc.), or there might be errors and the recording will be stopped.
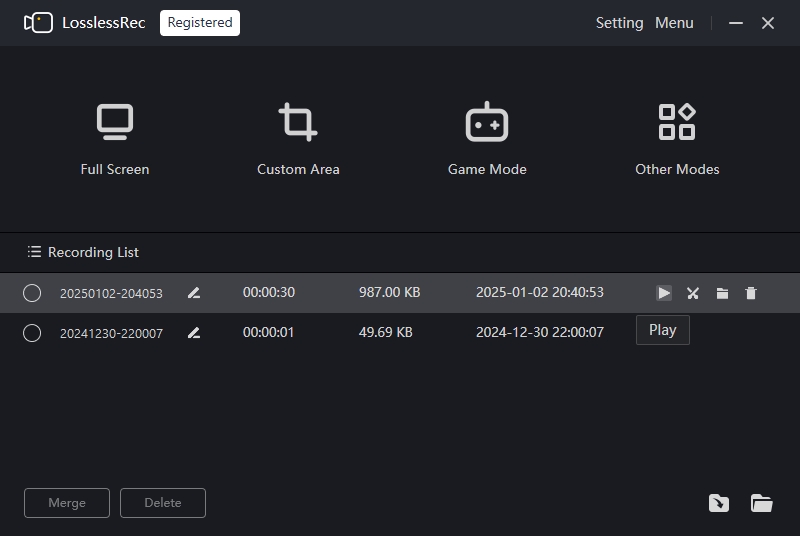
Step 4Play & edit the video
After the recording, you can play, edit, rename, & find the file location with the buttons on the recording list.
The program window mode is designed to record programs with unchanged windows while operating. If the program you are recording has more than one window or the size needs to be changed, you can use Full Screen or Custom Area modes.