It is quite easy to make use the full hardware acceleration feature in LosslessConverter. The feature is totally intelligent, so you don't have to worry about when and how to use hardware acceleration for video encoding, decoding, editing and rendering at all. Just following the simple guide below:
After you install and start LosslessConverter, Click "Help > Preferences", as shown in the image below, and tick "Acceleration".
LosslessConverter will automatically check the status, availability and performance of the CPU/GPU on Mac or PC. You can specifically understand the level, encoder and decoder capabilities of the CPU/GPU in H264 and HEVC video processing.
Step 2 Choose a feature
On the home interface of LosslessConverter, choose a module, such as 'Video Converter' or 'Compressor'. You can enjoy any features and make any other settings provided by the software. Just import your source media file(s) from your local computer, and proceed.
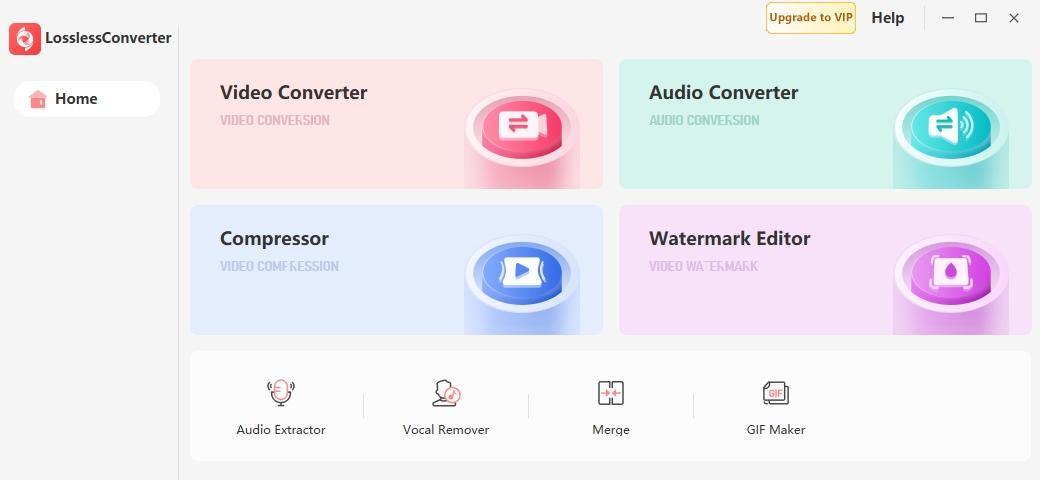
The installation only needs a few seconds, launch it, you'll see LosslessConverter interface as below.
Step 3 Start Running
Click the Start button to start the intelligent and fully hardware-accelerated video encoding, decoding and process. Soon you'll get the result file.
Update GPU Drivers on Windows
An up-to-date graphics driver can fully utilize the power of GPUs for video processing in LosslessConverter. In this guide, we'll walk you through how to update the driver for graphics from AMD and NVIDIA, as well as Intel processors.
Identify Your Graphics Driver
Before updating the GPU driver, you need to check the specific product of your graphics.
Step 1 Open "Control Panel" > "Hardware and Sound" > "Device Manager".
Step 2 Expand the option under "Display adapters". Double-click on it to open the properties tab.
Step 3 Click the "Driver" option to check more details.
Download and Install the Latest NVIDIA Driver
Step 1 Go to the download page of NVIDIA driver: https://www.nvidia.com/en-us/drivers/, Select an appropriate driver according to the type, series, specific product name, and the OS. Then click "Find".
Step 2 Click the "Studio Drivers" tab, find the latest version, and click the "View" button.
Step 3 Click the "Download" tab.
Step 4 Open the downloaded file. Follow its instructions and keep the default settings to complete the installation. Restart your computer to let these changes take effect.
Download and Install the Latest AMD Driver
Step 1 Go to the download page of AMD driver: https://www.amd.com/en/support/download/drivers.html, For use with systems running Windows® 11 / Windows® 10 64-bit version 1809 and later. Download and run directly onto the system you want to update.
For systems running Windows® 11/Windows® 10 64-bit version 1809 and earlier versions, select "Search or browse drivers and support by product" and Click "Submit".
Step 2 According to your system, select the appropriate version and click the "Download" button.
Step 3 When the driver installation package is saved, click the .exe file to launch the setup wizard. Restart your computer after the installation.
Step 2 When the download completes, double-click on the .exe file to open the installer. Click "Begin Installation". When the Installation completed, restart your computer.